Picture hanging can be a tricky business! One of the most common DIY tasks, it's often approached with a mix of excitement and dread. Excitement at the thought of a new art piece gracing your walls, and dread due to its precise nature, where an errant nail or a slightly crooked frame can throw a room off balance. In this comprehensive guide, we'll unravel the art of picture hanging with four simple yet essential tips for the budding home decorator.
Mastering the Art of Picture Placement
Before you hammer a nail, it's crucial to take a step back and consider the placement of your picture in the broader context of the room. Here are some pro tips:
Visual Balance and Harmony
The first step is to look at the picture you're about to hang. Is it a large, eye-catching piece, or a series of smaller frames meant to be seen together? The art of placing a picture lies in achieving a visual harmony in your living space. To do this:
- Determine the focal point in the room, such as a fireplace or a couch.
- The center of your picture should ideally align with the eye level of the average person, which is approximately 57 to 60 inches from the floor.
- For multiple pictures, ensure equal spacing between them. A safe distance is 2-3 inches between frames.
Measuring for Perfect Position
Measure twice, hang once. Using a measuring tape and a pencil, mark the spot where the top of your picture will sit to avoid unnecessary holes and adjustments. Take into account the hanging mechanism on the back of the frame, whether it's a wire, a sawtooth hanger, or a D-ring.
Go For Gold With Sticky Notes
If in doubt, this trick could be your saving grace. Cut out pieces of sticky notes or paper that match the size of your picture frames. Arrange them on the wall using masking tape to mimic the final picture arrangement. This allows you to step back and ensure the layout works with the flow of your room before committing to nails.

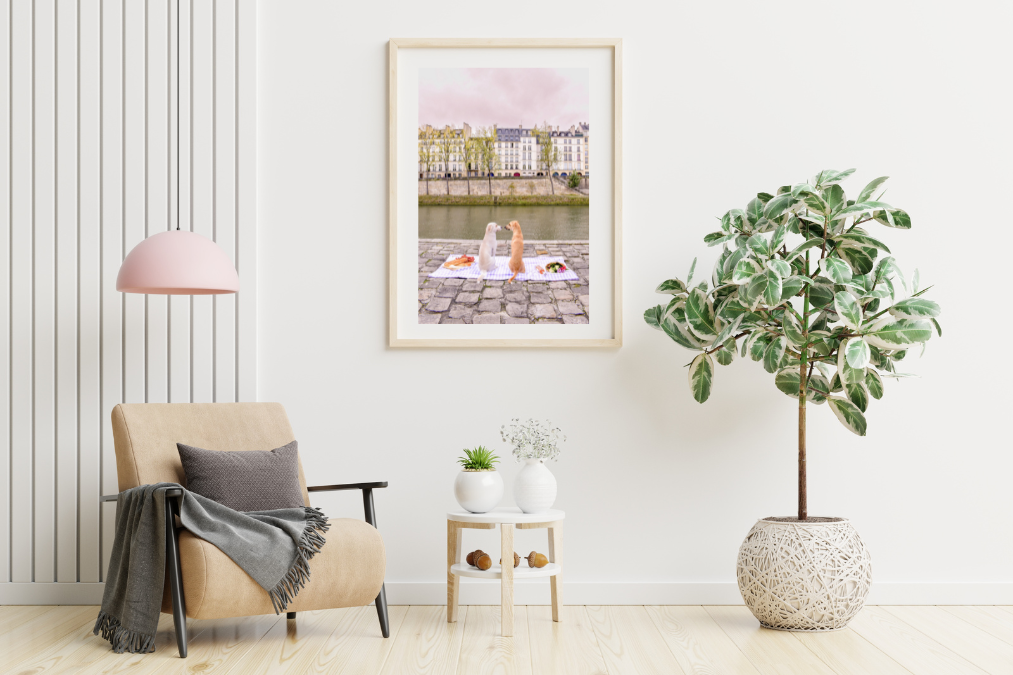
SHOP OUR COLLECTION DOGS IN PARIS PHOTOGRAPHS (Delivered with nails, hooks, corner brackets and a hanging guide. We got you covered ;-)
Choosing The Right Hardware
Your picture or mirror is only as good as the hardware you use to hang it. Here's how to pick the perfect one:
Weight Capacity
Different hanging methods have different weight limits. Be sure to check the packaging of your hardware to ensure it can support the weight of your picture. Overloading a small nail can lead to a disaster; it's always better to be safe than sorry.
Wall Material Matters
The kind of wall you have will determine which hardware is safest and most efficient. For drywall, picture hooks or nails designed for drywall work best, but if you're dealing with plaster or concrete, you might need to consider wall anchors for additional support.
Integrated Levelers
Another useful hardware feature to look out for is an integrated leveler, which can make the positioning and subsequent leveling of your picture a breeze. This reduces the number of tools you need and the likelihood of a lopsided hang.
The Hanging Ceremony
Now that you've chosen the perfect spot and hardware, let's get to the actual hanging process.
Hang It High
To achieve a clean and professional look, try hanging your frame slightly higher than where you intuitively think it should go. This can elevate the look of the room and create the illusion of higher ceilings.
Two Person Job
While hanging a picture can be a one-person job, having an assistant can greatly simplify the process. One person can hold the frame in place while the other checks that the position is level and marks the spot for the nail.
Depth Perception
Make sure the object you're hanging doesn't stand too far from the wall, which can lead to instability or an unappealing gap between the wall and the frame. A pull forward test can help judge this distance.
Adding The Finishing Touch
Your picture is up, but there are a few final steps to ensure it stays there securely and looks fantastic.
Add Bumpers
Self-adhesive rubber or silicone bumpers can help your picture stay flush against the wall and minimize wall damage or scuffing. These are particularly useful for frames that might be slightly uneven.
Tidy Draping Wires
If you've used hanging wire, ensure it's tight and neatly secured to the hooks. A kinked, slack wire can throw off your picture's alignment and invite accidental shifting or tilting.
Step Back and Admire
The final step is the most satisfying—step back, admire your handiwork, and revel in the difference your beautifully hung picture or mirror makes to your home's ambiance.
By following these four simple tricks and tips for easy picture hanging, you'll transform a potentially daunting task into a delightful and rewarding home improvement project. Remember, the key to successful picture (or puzzle) hanging is patience, precision, and a keen eye for design. With a little practice, you'll be proudly displaying your favorite artwork throughout your home like a pro. So, go on, grab those cherished frames and let your walls tell your story.

